Watermelon Arugula Salad –The Best Summer Side

Watermelon Arugula Salad –The Best Summer Side

We think we all can agree that there is nothing better in the Summer than getting to eat all your favorite “grilled” dinners. Whether it’s steak, hotdogs, hamburgers, kabobs, or BBQ chicken, this salad is the perfect add on to any Summer-time dinner!

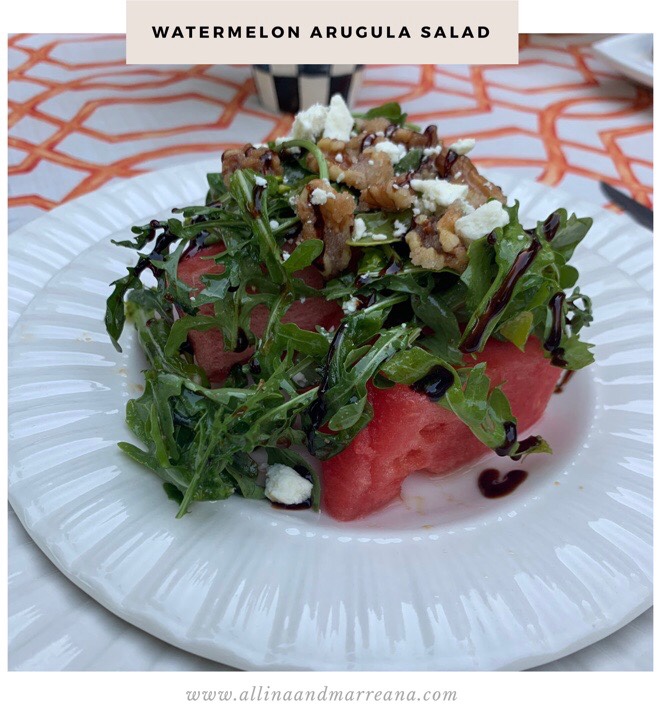
This watermelon salad is the perfect combination of savory and sweet — it’s a staple in our house as soon as the weather breaks!

We start by cutting our watermelon into bigger chunks –here we did two wedges per dish.

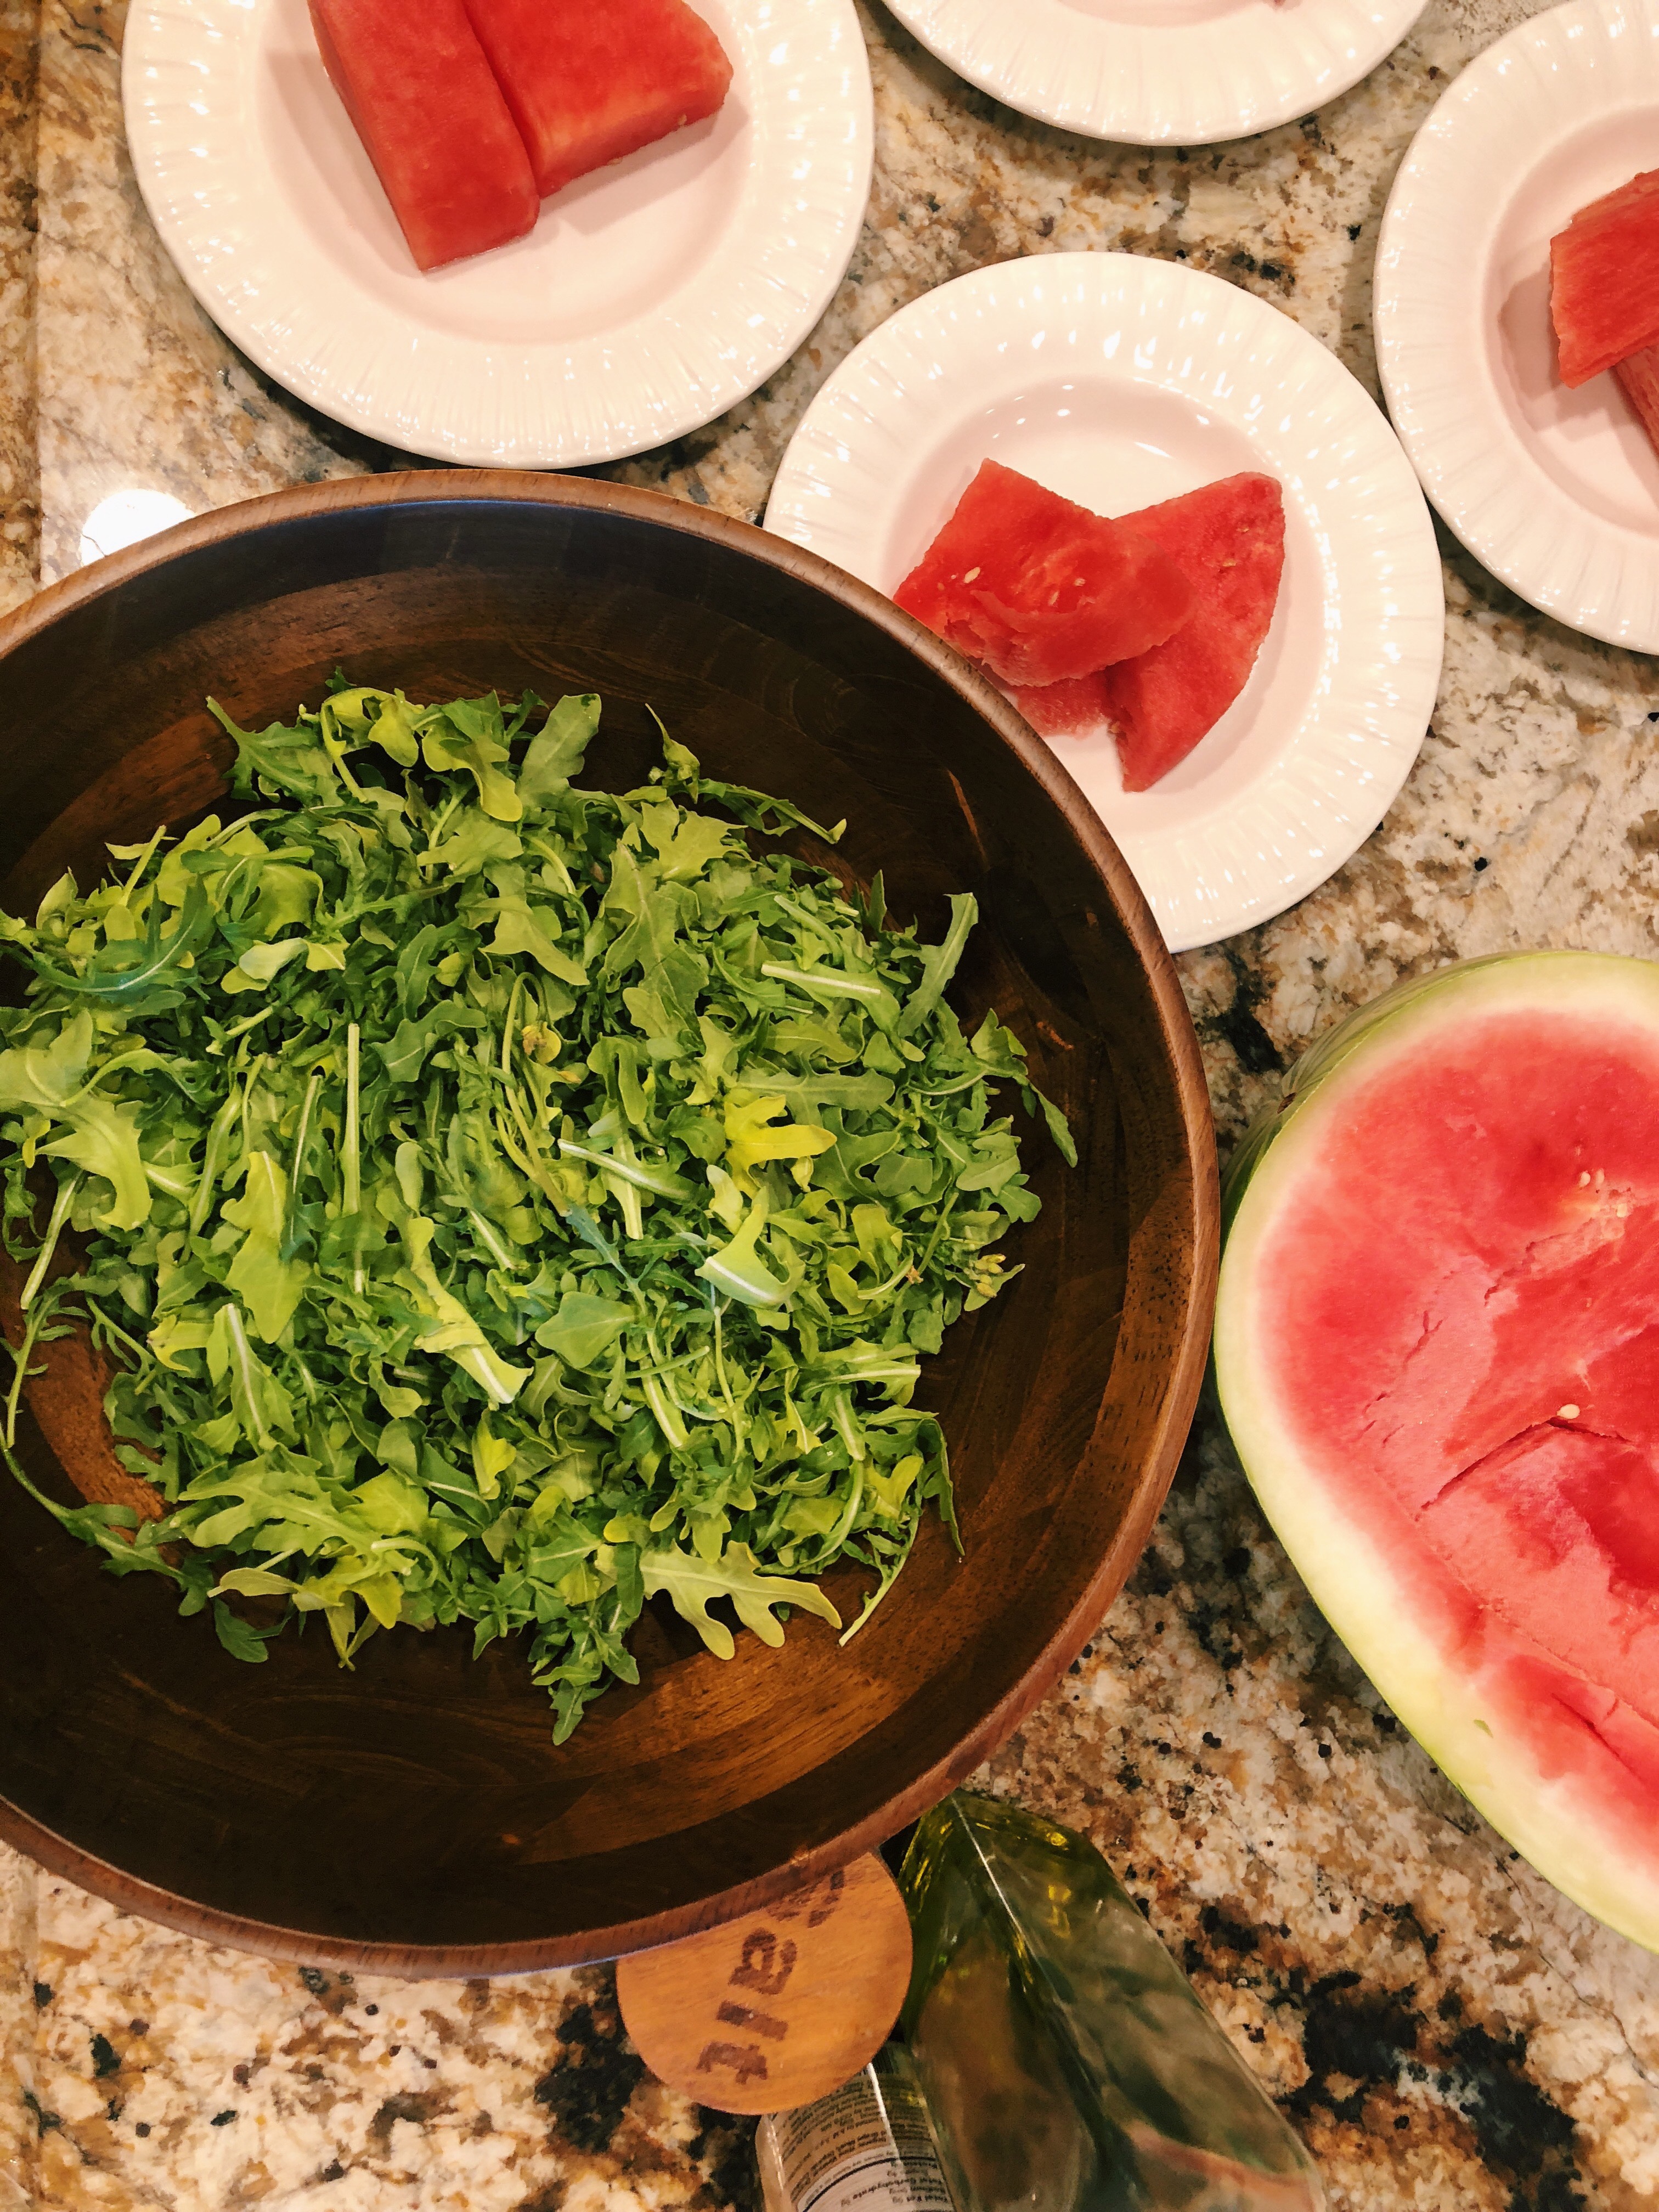
We then prep our salad –using arugula for this is our favorite! We season with salt, pepper, olive oil, and regular or white balsamic! You can use any dressing you like, but balsamic is our favorite.

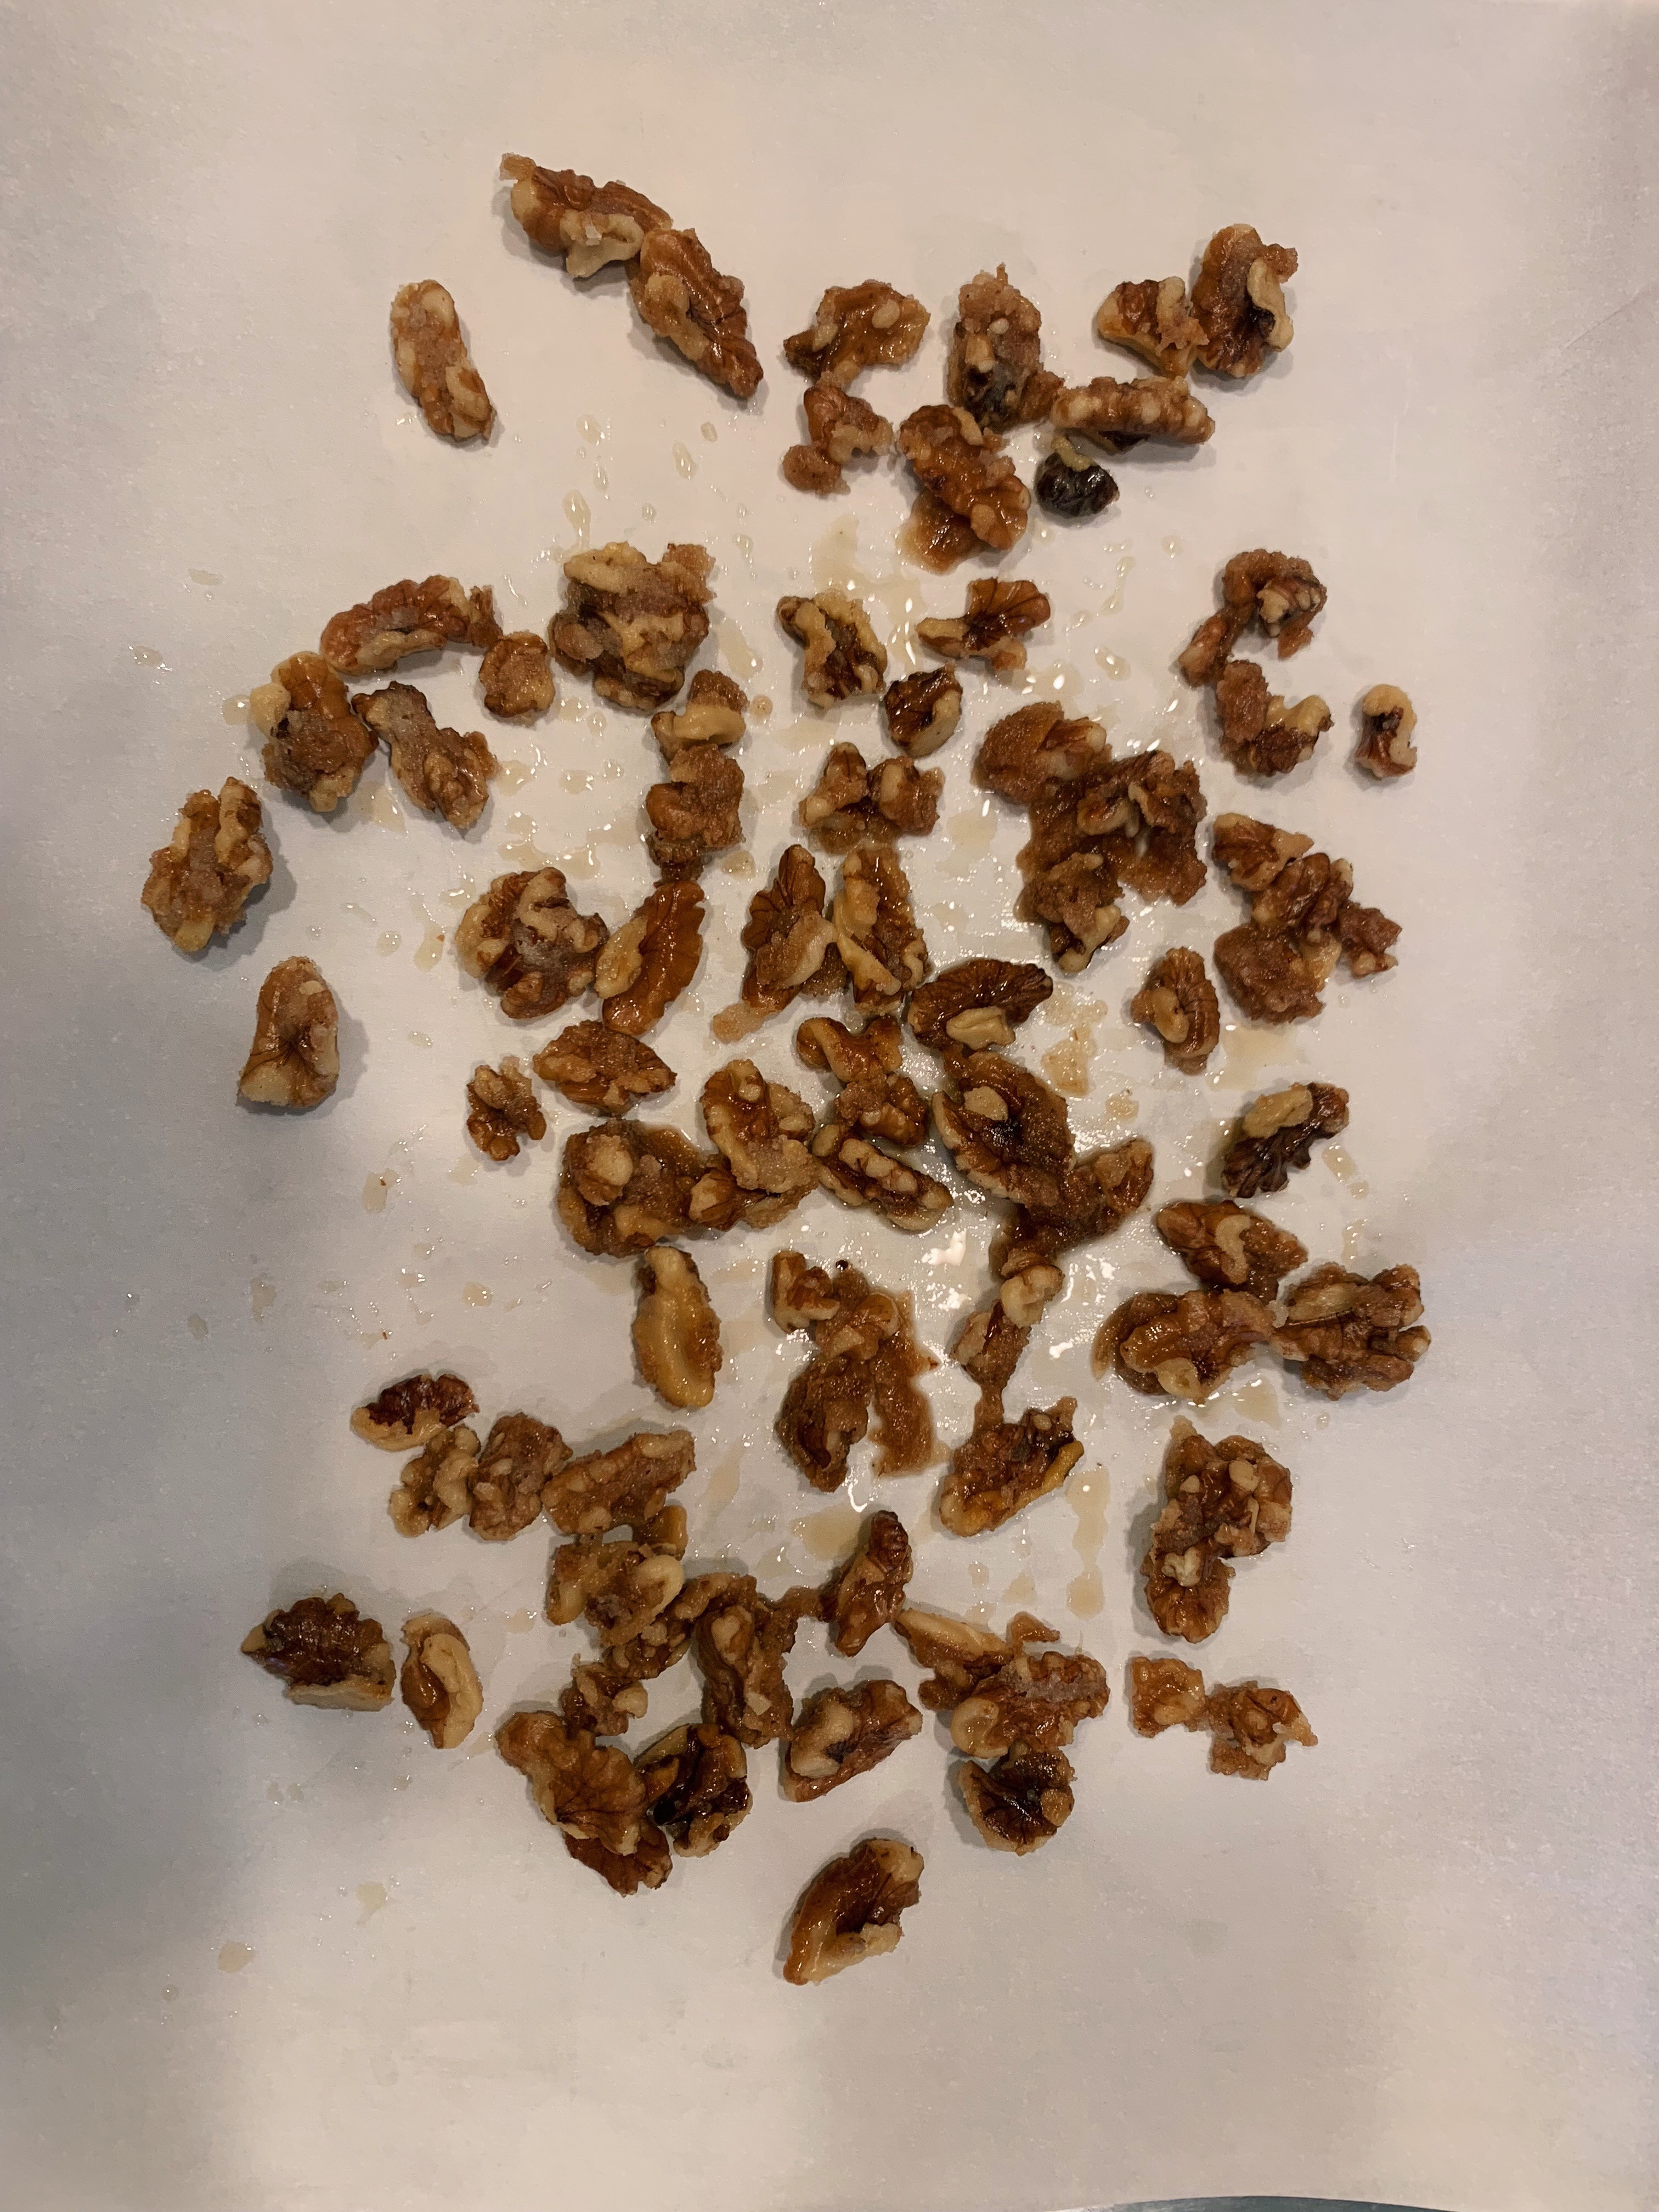
Candied walnuts!! This is an extra step that totally makes this salad. It’s super simple, just a little bit of butter and sugar in a skillet — toss around your walnuts until caramelized. Then lay out on parchment paper until you are ready to use!

Finally, we assemble! Watermelon on bottom, followed by a generous serving of arugula salad, topped with candied walnuts, and we like to do a drizzle of balsamic glaze!

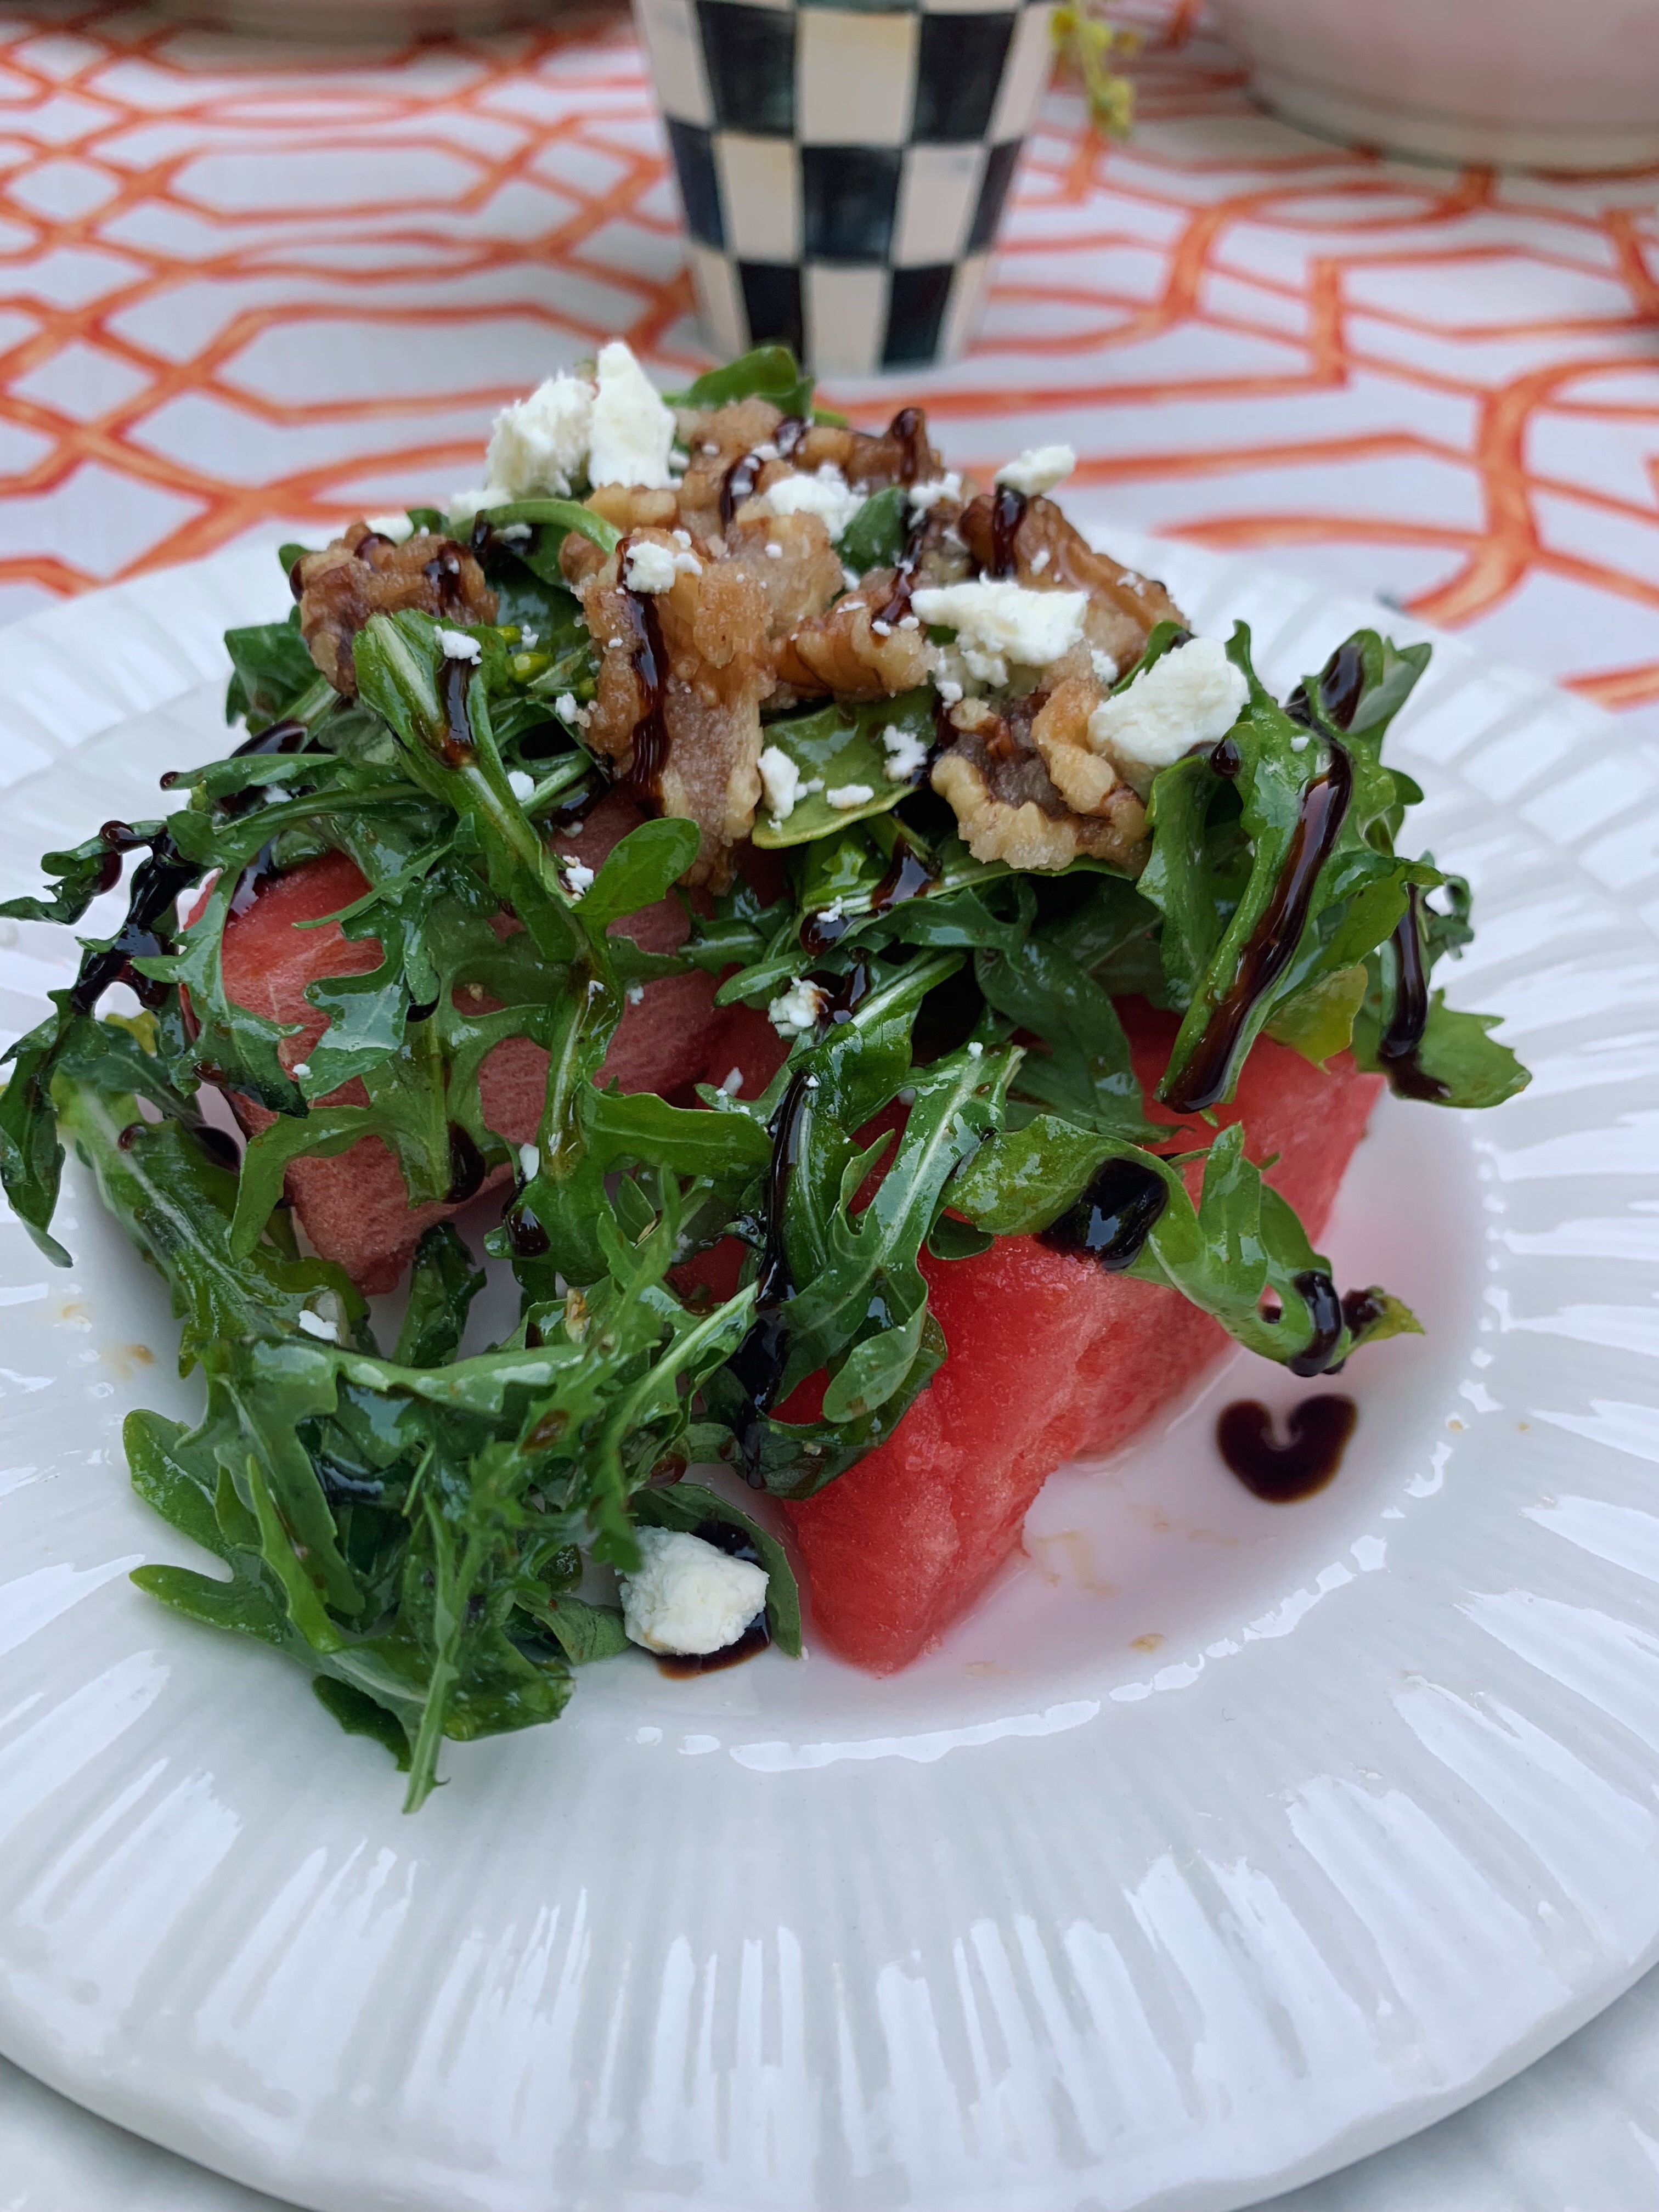
Lastly, an optional addition is a sprinkle of feta cheese to finish it off!

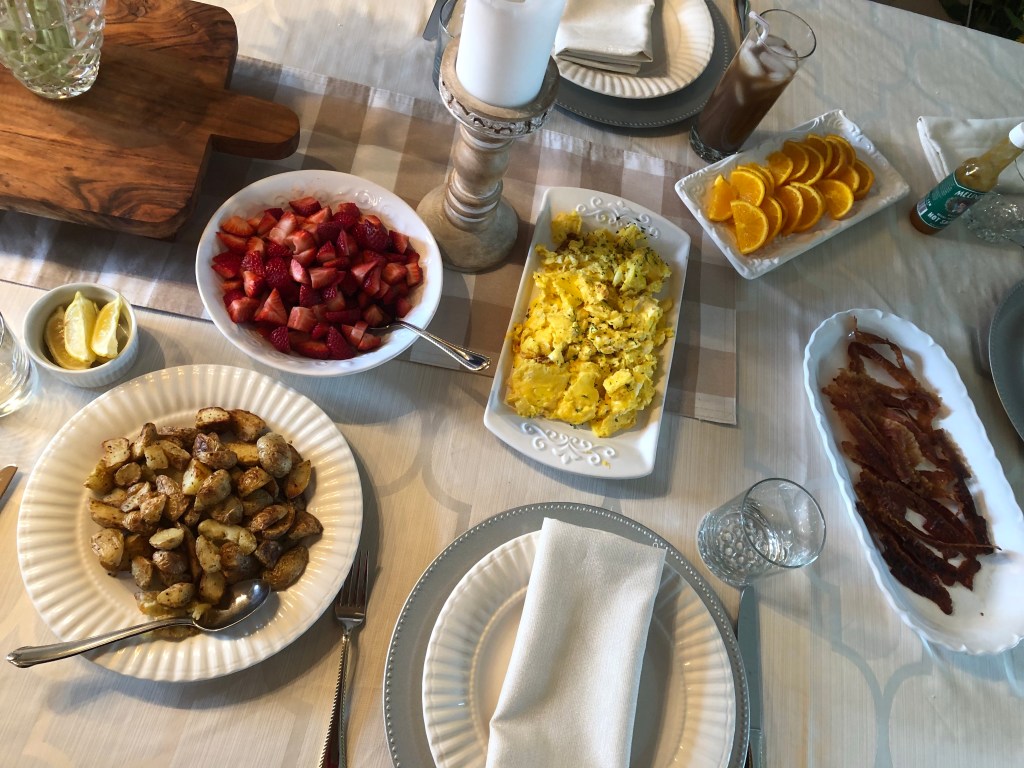
We paired our salads with filets and parsley potatoes. The perfect Summer meal!

Please let us know in the comments your favorite dinner to serve a special salad with!

Don’t forget to subscribe so you never miss a post!

Happy Cooking!

Focaccia Art

Focaccia Art

“Focaccia art” is an unexpected take on traditional focaccia bread. Our mom planned an afternoon that we could take on this project together, the three of us! This project not only tastes amazing, but is so fun to do, brings out your creative side and can be a wonderful group activity. Our mom took the reigns on the design and we prepped an assortment of toppings for the focaccia canvas! Read below to see how we made the homemade focaccia dough and the process we took to complete our mother-daughter masterpiece!

The Dough

We started early, by making our homemade focaccia dough, leaving enough time for it to rise!

Ingredients:

-1 cup warm water

-1 1/2 tsp yeast

-3 to 3 1/3 cups flour

-2 tbsp olive oil

-2 tbsp Honey

-2 tsp Kosher salt

Instructions:

1. Mix warm water in a bowl with yeast, set aside and let bloom for at least 5 minutes.

2. Combine olive oil, honey, salt and water/yeast in large bowl. Slowly add in the flour.

3. Knead with hands or dough hook on stand mixer for 10-15 minutes.

4. Transfer dough ball into a well-oiled bowl and let rise for at least 1 1/2 hours. It should double in size! Always tightly cover with plastic wrap and set in a warm spot to rise.

5. Once risen, stretch on oiled baking sheet, and let rise a second time for another 30 minutes. Cover with greased plastic wrap one more time!

6. Finally, use your fingertips to poke the top, use a generous amount of olive oil on top, decorate, and bake at 375° for 25-30 minutes!

(Recipe modified from tasty.com)

Toppings

We then prepped all of the toppings we were going to use to create our focaccia art creation!

Our toppings: fresh parsley, fresh rosemary, dried oregano, red onion, capers, black olives, orange, yellow and red baby sweet peppers, grape tomatoes, and roasted red peppers!

Before decorating, be sure to use a generous amount of olive oil on your dough! We also prepped with some garlic powder and Pecorino Romano cheese sprinkled evenly over the top.

Before going in the oven!

Finished result! See more detail shots below! Special shout-out to our mom for helping with the design! How perfect is the butterfly she made!

We highly recommend you grab your friends and family and make a night of this!

Don’t forget to show us your creations! Tag us on Instagram: @allinaandmarreana 📷

Baked Ziti Melanzane

Baked Ziti Melanzane

After a long day in the sun, we were eager to whip up something quick for dinner that our whole family would love. We had eggplant to use up, which made us think of this dish!

This dish is so great because it can be easily prepped in advance, and thrown in the oven for as little as 20 minutes when you’re ready to eat!

If you love baked cheesy pasta, please keep reading to see the recipe and instructions below for this twist on a classic baked ziti!

Ingredients:

-Olive Oil

-Salt

-Pepper

-2 cloves of garlic (and garlic powder)

-1 can crushed tomatoes

-1 small onion

-Basil

-1 lb. Ziti pasta

-Eggplant (one medium sized, or two small)

-Mozzarella

-Pecorino Romano

-Red pepper flakes

Instructions:

1. Preheat oven to 375°. Bring a big pot of water to boil, salt and add ziti, cook until al dente. Reserve 1 1/2 cup pasta water. Strain pasta and set aside.

2. Heat a couple tablespoons of olive oil in a medium skillet over medium heat. Dice eggplant (with skin) and put in skillet. Add salt, pepper and garlic powder and toss. Keep moving around until it softens and develops a golden brown color. Take off heat and set aside.

3. In another large skillet heat a couple of tablespoons of olive oil. Add half an onion (finely chopped), and two cloves of garlic (finely chopped). Stir and cook until onion becomes translucent. Add one 28 oz. can of crushed tomatoes. Add salt, pepper, and basil to taste. Add the pasta water slowly, to create a smooth sauce. Simmer until satisfied (about 15-20 minutes). *This is where you can add some crushed red pepper flakes if you prefer a sauce with a subtle kick!

4. In a large bowl mix cooked pasta, eggplant and sauce until it’s evenly coated. Fold in 1 1/2 cups of mozzarella and 3/4 of a cup of Pecorino Romano.

5. Pour mixed pasta into a greased casserole dish. Top with 1/2 cup mozzarella and a sprinkle of Pecorino (really however much you want for a cheesy topping!) Bake for 20-25 minutes until sauce is bubbling and cheese is fully melted.

6. Serve and enjoy!!

Please see below for additional photos of the steps to create this baked ziti with eggplant.

Eggplant starting to get the golden brown color we love!

Keep cooking those onions and garlic until they are translucent. Don’t forget to keep them moving around the olive oil to avoid burning the garlic!

Making your own quick sauce for this dish is well worth it in the end. It makes all the difference!

Best part! Mixing everything together! (Our pasta was still warm here so you can see the mozzarella starting to melt)

Top it off.

Serving hot is crucial!

Plate & enjoy!!

Let us know in the comments below if you tried and loved this recipe as much as our family did!

Fluffy Blueberry Pancakes

Fluffy Blueberry Pancakes

The perfect breakfast, rain or shine! We have been testing pancake recipes for as long as we can remember, but this one is definitely our favorite! This recipe works with any toppings or ingredients you like — chocolate chips, bananas, strawberries & more!

One of the best parts of this recipe is that it works perfectly with gluten free flour as well!

If you like a thick, fluffy pancake with a golden brown crisp, keep reading for the recipe & instructions below!

Ingredients:

(Dry)

-1 cup flour (or gluten free flour)

-2 tbsp sugar

-1 tsp baking powder

-1/2 tsp baking soda

-1/2 tsp salt

(Wet)

-3/4 cup milk

-2 tbsp white vinegar

-2 tbsp melted butter (+ more butter for the pan!)

-1 large egg

-And finally, a bunch of freshly washed blueberries!

Instructions:

1. Heat a nonstick pan over low/medium heat. We find pancakes work best when you cook them a little lower and slower!

2. Combine your milk and vinegar in a small bowl and stir together. Let this sit for a few minutes, as this will create your buttermilk.

3. Whisk the dry ingredients together, then add the wet and whisk until smooth. Be careful not to over-mix, we just want the ingredients to be combined.

4. Melt a small dab of butter in your pan –this is absolutely essential for that golden brown outside that we love!!! Once melted, pour about 1/3 cup of batter onto the pan. Add as many blueberries as you like! Once little bubbles form on top, flip and cook an additional 1-2 minutes.

5. Remove from heat, top with a little additional butter, syrup or powdered sugar!

6. Enjoy!!! Share with your family, friends, or someone you love!

Please see below for additional photos of the steps to create this delicious morning treat!

Dry and wet ingredients ready to go! We love to pre-measure all our ingredients before cooking to make sure we don’t make any mistakes!!

Time to combine egg & homemade buttermilk.

Almost time to flip! Be sure to not let your pan get too hot!

Sometimes, a heavy pour of syrup is all your need!

Enjoy!

We hope you love this recipe as much as we do!

(Recipe adapted from: pinchofyum.com)

Wood Fire Pizza Night

Wood Fire Pizza Night

One of our favorite things to do once the weather gets nice is to have outdoor pizza nights! We prepare tons of topping options and make our dough in advance. Then we fire up the wood fire pizza oven and each make our own creation! Keep reading below to see the details that go into our perfect pizzas.

Margherita pizza.

THE DOUGH

A major key to creating a perfect pizza is having a great dough. There are tons of local options to purchase pre-made pizza dough but if you have the extra time to make your own, it’s definitely worth it. We do a simple dough that doesn’t take more than an hour to fully rise. We also have perfected a gluten free pizza dough. It took weeks of trial to get it just right… we will share this recipe in detail in another post!

Gluten free dough in the works!

THE TOPPINGS

The best part of our pizza nights is getting to try endless topping combinations. We usually cut up each pizza and share it so we can try more kinds! Our toppings included: homemade pizza sauce, seasoned ricotta, fresh mozzarella, shredded mozzarella, sliced tomatoes, caramelized tomatoes, pepperoni, cherry peppers, soppressata, green olives, banana peppers, grated cheese and basil.

Olive oil, sauce, mozzarella, soppressata and ricotta.
Gluten free dough, olive oil, ricotta, tomatoes, basil & cracked pepper.
A classic! Don’t forget the cornmeal.

PIZZA’S OUT OF THE OVEN

Tomatoes & banana peppers!
Cherry peppers & green olives.
Perfect cheese drip.

DESSERT PIZZA

Nutella, walnuts and powdered sugar! A perfectly sweet way to wrap up the night.

Dessert pizza.

Mother’s Day Brunch

Mother’s Day Brunch

This year things were a little different for Mother’s Day. Usually we would be celebrating all of the mom’s in our lives together with our family. Instead this year just our immediate family could be together. Saturday night before Mother’s Day, around ten o’clock we remembered that our dad had just found our great grandmothers cast iron skillets. We immediately had the thought, Dutch baby pancakes! One of our mom’s favorite things.

A last minute brunch was born! We quickly jotted down a menu, paged through Chrissy Teigen’s “Cravings” cookbook for recipes and picked out the linens. The next morning we set the table and prepped the food. We had roasted potatoes, bacon, soft scrambled eggs, fruit and the main attraction: Dutch baby’s! We made a few Dutch baby pancakes, two regular and one gluten free. The pancake rises in the oven and deflates rather quickly when you take it out. The pancakes were served out of the skillet with whipped butter, a lemon wedge, powdered sugar and strawberries. The pancake itself is not sweetened so the toppings compliment it perfectly.

Our brunch was planned in just under an hour but it ended up being the highlight of our mom’s day. We are so grateful for the small moments that are created on a whim. The best times we have usually don’t require much planning and that makes those moments even more special. We show our mom love and appreciation on a daily basis, we respect and admire her each day for being the one who takes care of our family. On Mother’s Day we like to make these things even more apparent and take the time to reflect on everything our mom’s do for us and our families.

To mom’s, Dutch baby pancakes and spur the moment brunches… things we love 365 days a year.